2-3 Developing the gst-plugins-bad-dev Project on PC
GStreamer is a pipeline-based multimedia framework that links together a wide variety of media processing systems to complete complex workflows. For instance, GStreamer can be used to build a system that reads files in one format, processes them, and exports them in another. The formats and processes can be changed in a plug and play fashion.
GStreamer is an extremely powerful and versatile framework for creating streaming media applications. However, writing new plugins is not always easy.
The below is how GStreamer elements linked as a pipeline.

Install OpenCV
We will build the gst-plugins-bad-dev project, please install OpenCV first, the installation command is as below,
sudo apt install libopencv-dev python3-opencv
Install libmoildev.so
Please follow the instructions on the Github repository, install it on our x86_64 platform.
https://github.com/yourskc/moildev_install
Installing GStreamer
https://gstreamer.freedesktop.org/documentation/installing/index.html?gi-language=c
To completely install GStreamer on Ubuntu 22.04, use the commands below,
sudo apt install libgstreamer1.0-dev libgstreamer-plugins-base1.0-dev libgstreamer-plugins-bad1.0-dev gstreamer1.0-plugins-base gstreamer1.0-plugins-good gstreamer1.0-plugins-bad gstreamer1.0-plugins-ugly gstreamer1.0-libav gstreamer1.0-tools gstreamer1.0-x gstreamer1.0-alsa gstreamer1.0-gl gstreamer1.0-gtk3 gstreamer1.0-qt5 gstreamer1.0-pulseaudio
Basic Tutorials : Hello world
https://gstreamer.freedesktop.org/documentation/tutorials/basic/hello-world.html?gi-language=c
Compile the above with the command below,
gcc basic-tutorial-1.c -o basic-tutorial-1 `pkg-config --cflags --libs gstreamer-1.0`
Command Line Tools
We will use the command line tools gst-inspect-1.0 and gst-launch-1.0 most of the time for our test.
https://gstreamer.freedesktop.org/documentation/tools/gst-launch.html?gi-language=c
- gst-inspect-1.0
https://gstreamer.freedesktop.org/documentation/tools/gst-inspect.html?gi-language=c#
The below commands will show the information includes the source module, plugin and element,
Examples:
gst-inspect-1.0 opencv
sudo apt install gstreamer1.0-opencv
gst-inspect-1.0 geometrictransform
gst-inspect-1.0 circle
- gst-launch-1.0
https://gstreamer.freedesktop.org/documentation/tools/gst-launch.html?gi-language=c#
Examples,
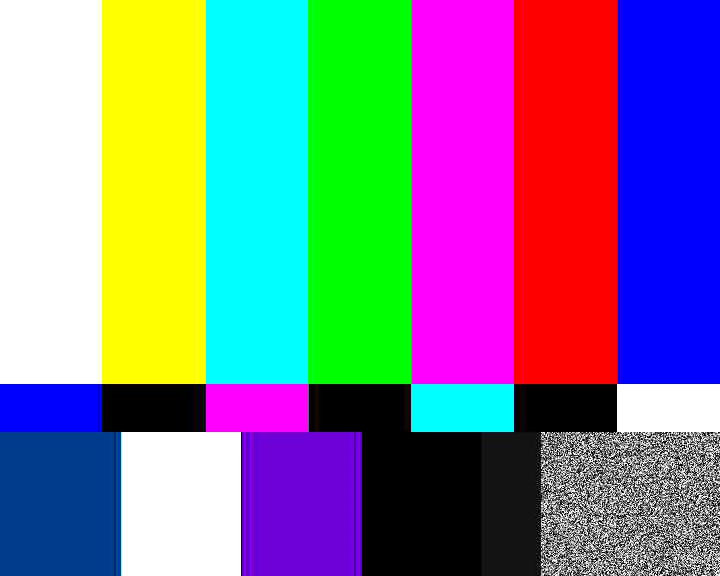
gst-launch-1.0 videotestsrc ! autovideosink
gst-launch-1.0 videotestsrc pattern=0 ! autovideosink
where pattern = 0 ..25
gst-launch-1.0 videotestsrc ! video/x-raw, width=1920, height=1080 ! autovideosink
gst-launch-1.0 videotestsrc ! video/x-raw, width=1920, height=1080 ! videoconvert ! circle ! videoconvert ! autovideosink
And the output of the above command,
We already have a MOIL Equirectangular GStreamer element, we hope to use it to link to more applications in the future.
Project Download
The project mentioned in this section we'll used in the Yocto project building. However, this one is based on a newer Gstreamer version, and is fully compatible with our developing environment Ubuntu 22.04. We can add or modify programs then verify the functionality on our system.
This is the referenced original project on Github:
https://github.com/GStreamer/gst-plugins-bad
Download our modified version project:
https://github.com/yourskc/gst-plugins-bad-dev
This project includes a new element named equirectangular as part of the gst-plugins-bad geometric transform plugin. It contains GStreamer code units, build instructions, and test commands.
Install Meson
Install the Meson build system:
https://mesonbuild.com/Quick-guide.html
sudo apt-get install python3 python3-pip python3-setuptools \
python3-wheel ninja-build

pip3 install --user meson
Build
meson build
ninja -C build
Verify the creation of .so files in:
<work_dir>/build/gst/geometrictransform
Install the library locally for verification:
sudo cp ./build/gst/geometrictransform/libgstgeometrictransform.so /usr/lib/x86_64-linux-gnu/gstreamer-1.0
or, if you can not build the above project successfully for some reason, please download and use the pre-build one as below
Then copy the .so file to your system folder,
sudo cp libgstgeometrictransform.so /usr/lib/x86_64-linux-gnu/gstreamer-1.0
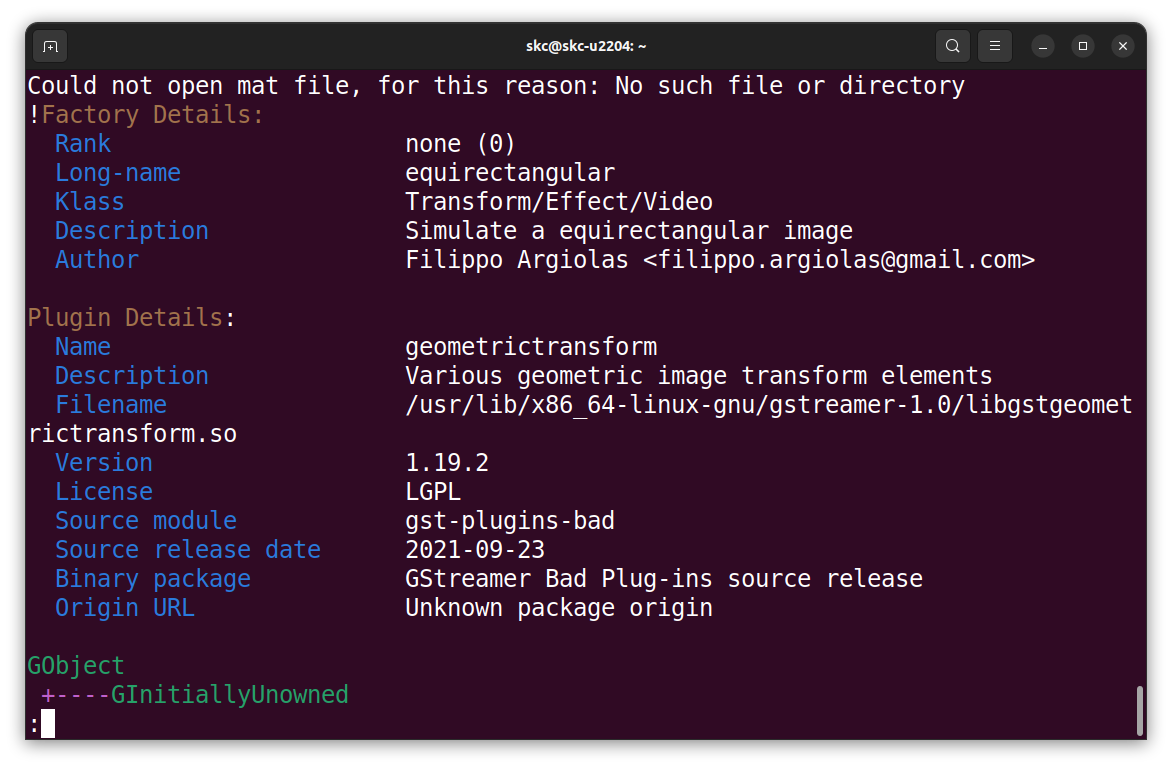
Check with gst-inspect-1.0:
gst-inspect-1.0 geometrictransform
and
gst-inspect-1.0 equirectangular
Expected output:
Start Testing
Ensure the execution directory contains EquimatX and EquimatY files.
Basic test with video test source:
cd test_env
gst-launch-1.0 videotestsrc ! video/x-raw,width=1920,height=1080 ! videoconvert ! equirectangular ! videoconvert ! autovideosink
There some .jpg image files and .mp4 video files under /test_env folder.
Change the data folder location in the below command according to your actual situation.
To test with mp4 video files, use the example below:
cd test_env

gst-launch-1.0 playbin uri=file:///home/skc/gst-work/gst-plugins-bad-dev/test_env/endo01.mp4 video-sink="videoconvert ! equirectangular ! videoconvert ! autovideosink"
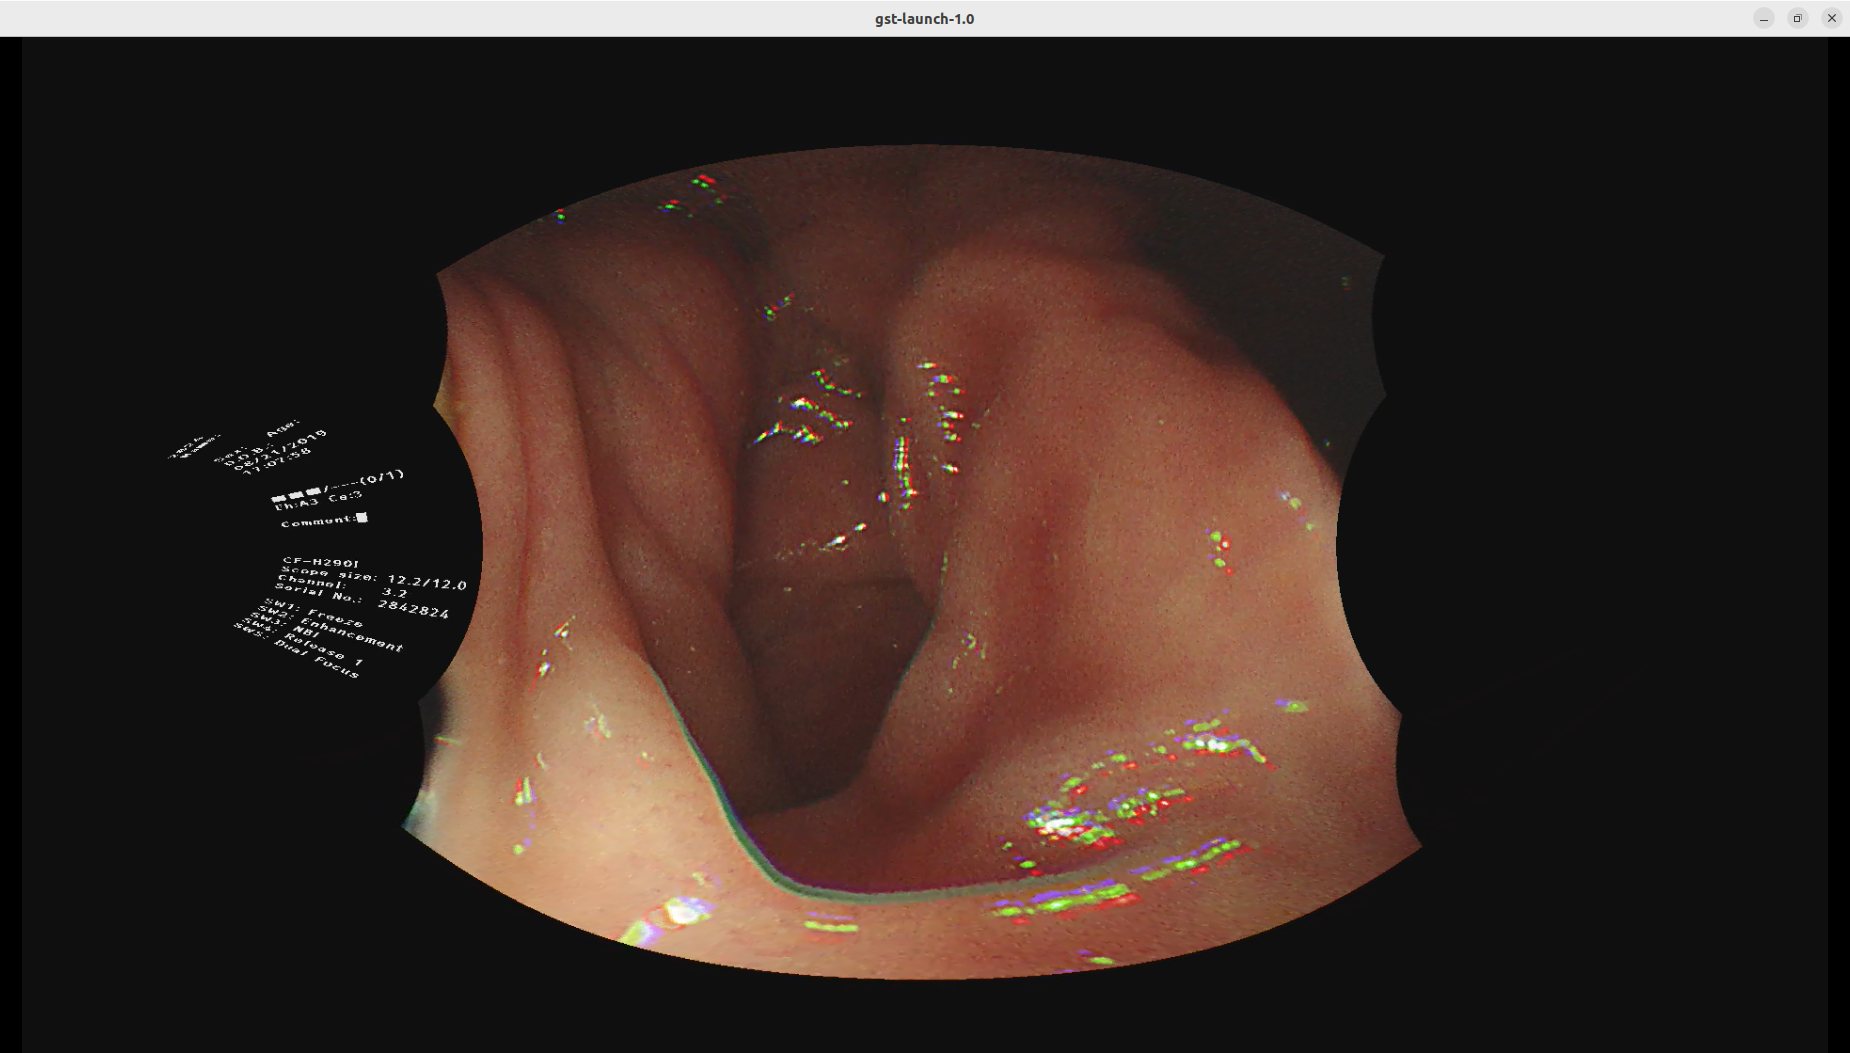
Another test is as below,
gst-launch-1.0 filesrc location=endo01.mp4 ! qtdemux ! queue ! avdec_h264 ! videoconvert ! equirectangular ! videoconvert ! autovideosink
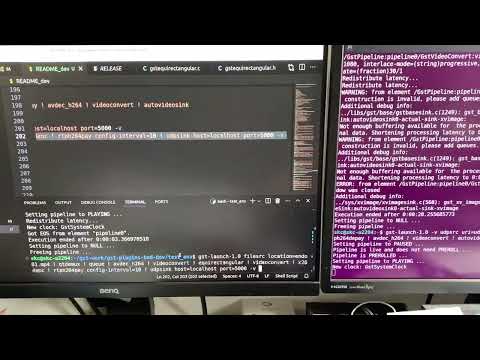
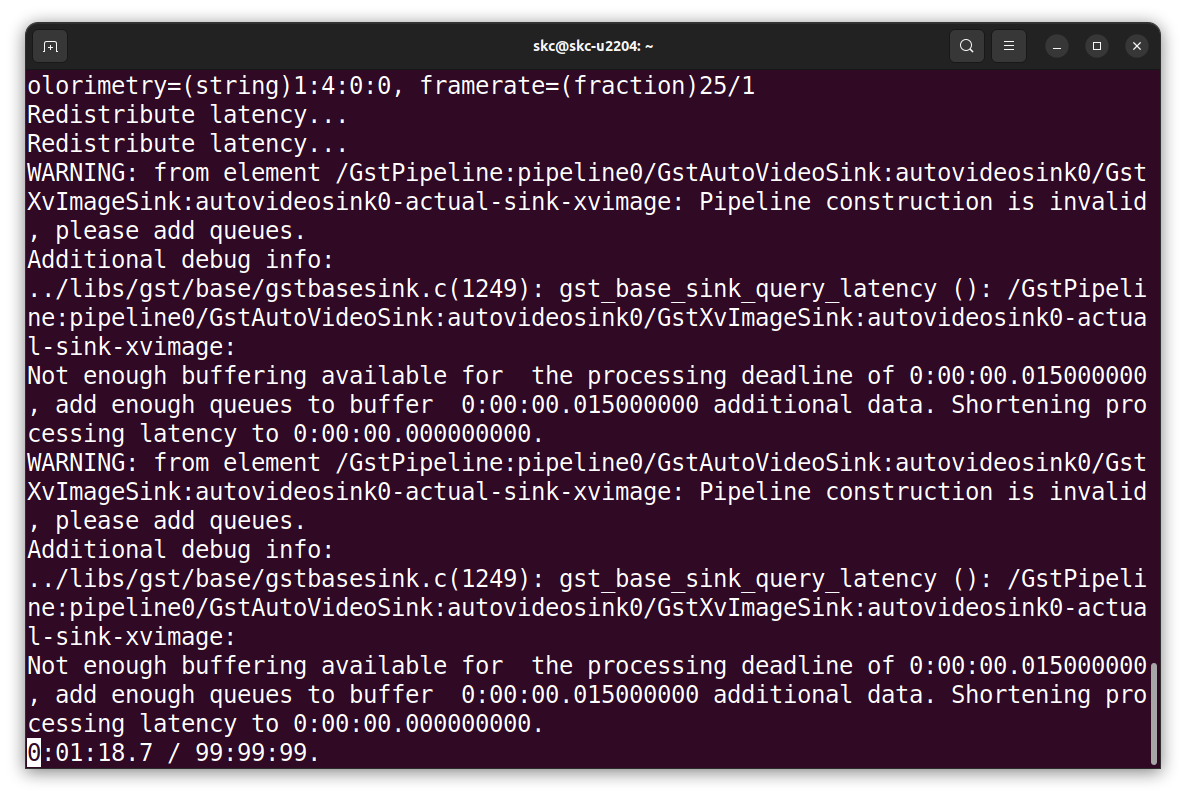
Next, we would test network streaming. Open a Terminal window as udp reciver first
gst-launch-1.0 -v udpsrc uri=udp://127.0.0.1:5000 ! application/x-rtp, media=video, payload=96, encoding-name=H264 ! rtph264depay ! avdec_h264 ! videoconvert ! autovideosink
The below is the waiting for the incoming stream
First, we use a very simple video test source,
gst-launch-1.0 videotestsrc ! video/x-raw, width=1920, height=1080 ! videoconvert ! equirectangular ! videoconvert ! x264enc ! rtph264pay config-interval=10 ! udpsink host=127.0.0.1 port=5000
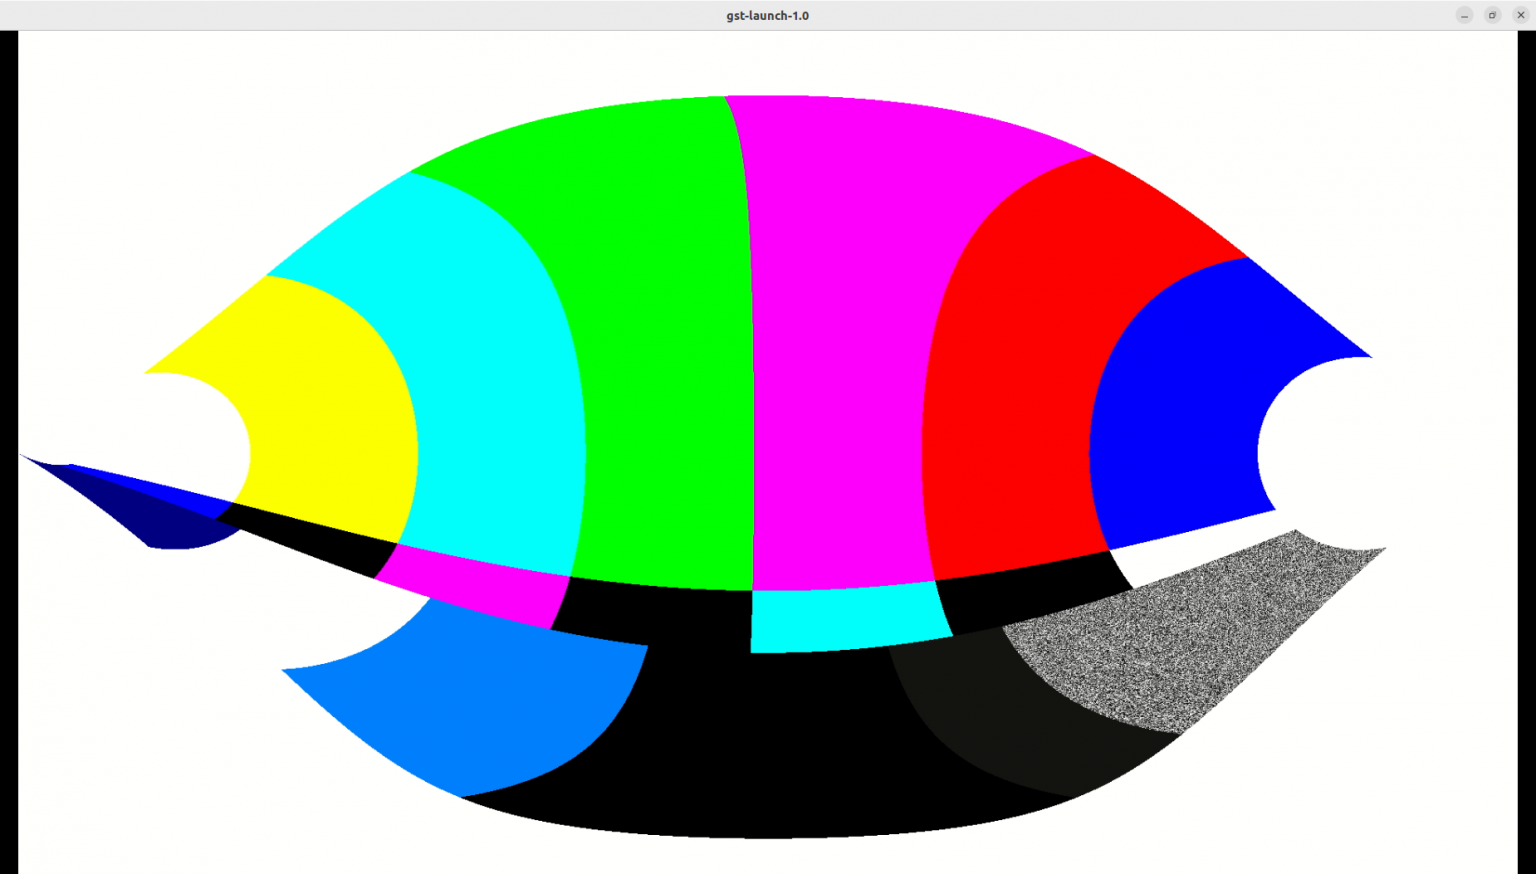
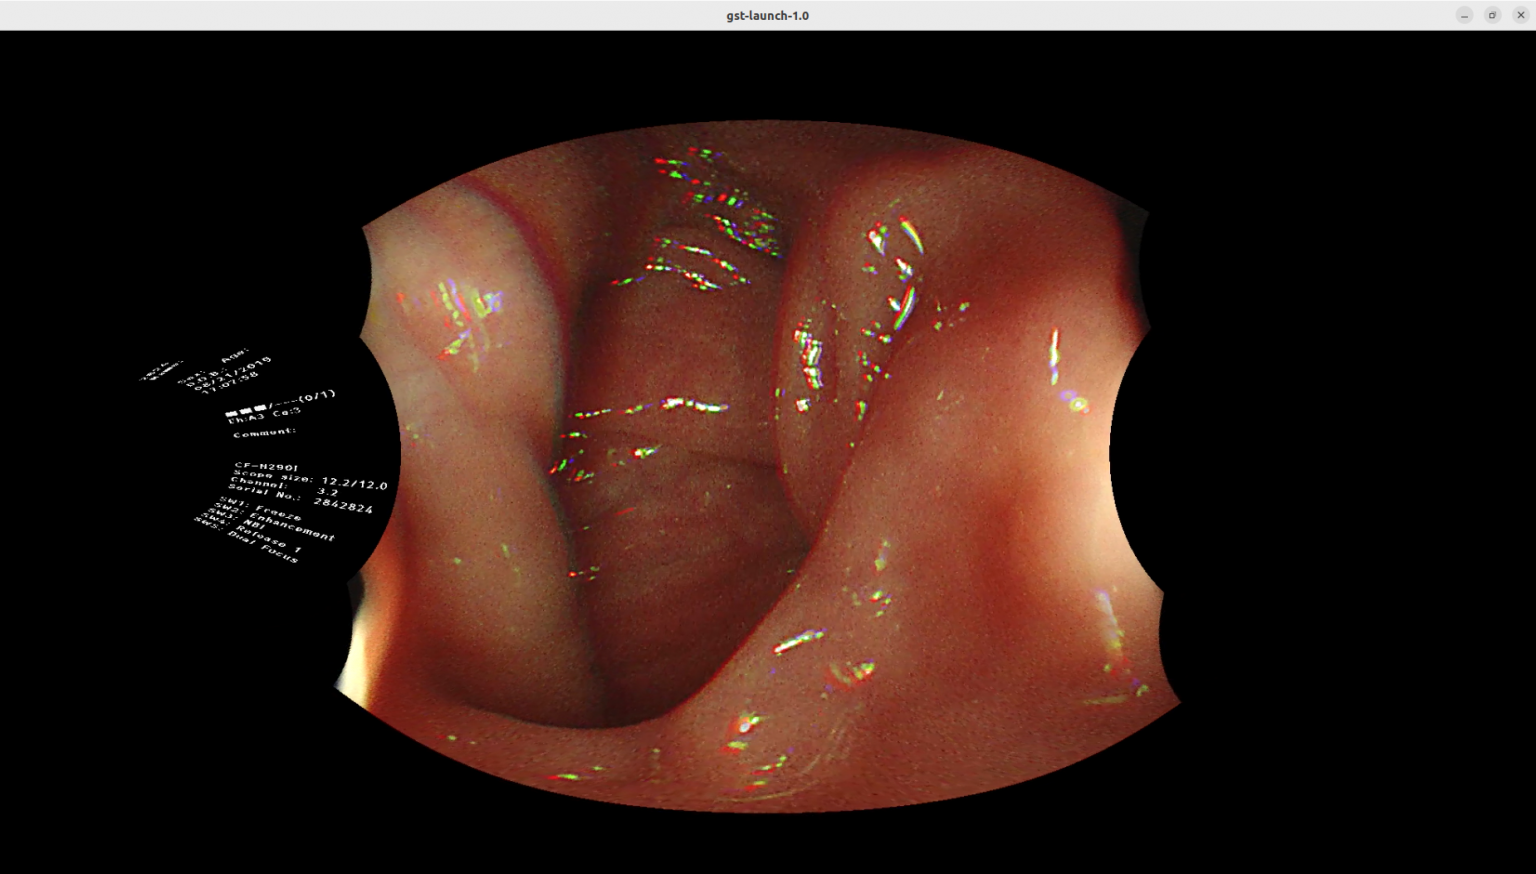
Then we test a still image source,
gst-launch-1.0 filesrc location=image1920.jpg ! decodebin ! imagefreeze ! videoscale ! video/x-raw,width=1920,height=1080 ! videoconvert ! equirectangular ! videoconvert ! x264enc ! rtph264pay config-interval=10 ! udpsink host=localhost port=5000
the expected output is as below,
USB Camera
We connect our PC with an USB camera,
and replace the video source with
"v4l2src device=/dev/video0" in the command,
gst-launch-1.0 v4l2src device=/dev/video0 ! videoscale ! video/x-raw, width=1920, height=1080 ! videoconvert ! equirectangular ! videoconvert ! x264enc ! rtph264pay config-interval=10 ! udpsink host=localhost port=5000
Installation :
sudo apt-get install v4l-utils
- list all camera devices
v4l2-ctl --list-devices
- display driver information
v4l2-ctl -d /dev/video0 -D
- get camera supported image format
v4l2-ctl -d /dev/video0 --list-formats
v4l2-ctl -d /dev/video0 --list-formats-ext
- Reference :
https://medium.com/@deepeshdeepakdd2/v4l-a-complete-practical-tutorial-c520f097b590
If you cannect with a normal USB camera,
the result screen will be like the below,
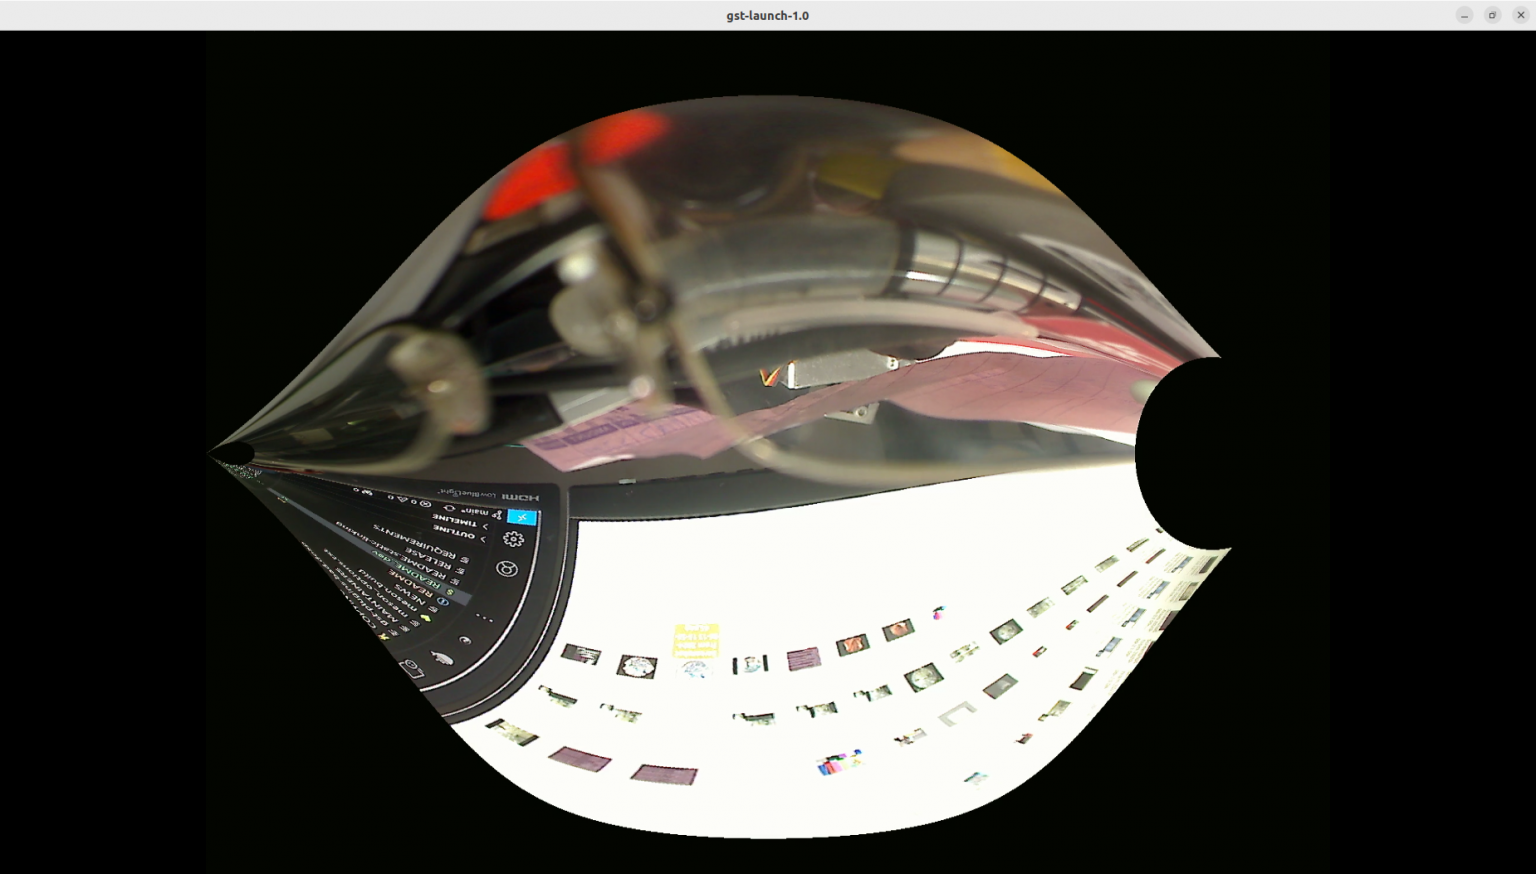
The flow of streaming mp4 file is,
Decompression > Transformation > Compression > Streamering
gst-launch-1.0 filesrc location=endo01.mp4 ! qtdemux ! queue ! avdec_h264 ! videoconvert ! equirectangular ! videoconvert ! x264enc ! rtph264pay config-interval=10 ! udpsink host=localhost port=5000 -v